Did you know that over 70% of VR users report discomfort or subpar performance due to improperly configured systems? Optimising your setup can make a world of difference, transforming choppy visuals into smooth, immersive adventures. Whether you’re exploring virtual worlds or piloting a plane in Microsoft Flight Simulator, fine-tuning both hardware and software is essential.
Customising your setting options, such as resolution scaling and DLSS quality, ensures clearer visuals and smoother performance. Balancing CPU frametime is equally crucial for maintaining stable frame rates. Community insights highlight that even minor tweaks can significantly enhance your experience.
This guide will walk you through preparing your setup, adjusting key parameters, and applying community-tested tweaks. By the end, you’ll know how to optimise your page performance and achieve a truly immersive session. Let’s dive in!
Key Takeaways
- Customising both hardware and software is vital for smoother performance.
- Resolution scaling and DLSS quality settings improve visual clarity.
- Balancing CPU frametime ensures stable frame rates.
- Community-tested tweaks can significantly enhance immersion.
- Optimising your setup minimises discomfort and maximises enjoyment.
Preparing Your VR Setup for Customisation
Before diving into customisation, it’s crucial to ensure your system is ready to handle the demands of immersive technology. A smooth and enjoyable session starts with proper preparation. This involves assessing your hardware, updating software, and understanding the configurations available to you.
Assessing Your Hardware and Software Requirements
Start by evaluating your current hardware. Check if your CPU and GPU meet the minimum requirements for immersive technology. For instance, a powerful GPU ensures smoother visuals, while a capable CPU prevents bottlenecks.
Next, verify that your software and drivers are up-to-date. Outdated drivers can lead to performance issues, so always download the latest versions. Community feedback, like insights from StonyCrayfish44, highlights the importance of this step.
Understanding SteamVR and OpenXR Configurations
Two key configurations you’ll encounter are SteamVR and OpenXR. SteamVR is widely supported and often used when native OpenXR support is limited. OpenXR, on the other hand, offers a more streamlined experience but may require additional setup.
Here’s a quick comparison:
- SteamVR: Broad compatibility, ideal for older systems.
- OpenXR: Optimised for newer hardware, offering better performance.
Reading community reviews can help you decide which configuration suits your needs. Proper initial setup ensures a seamless and enjoyable experience.
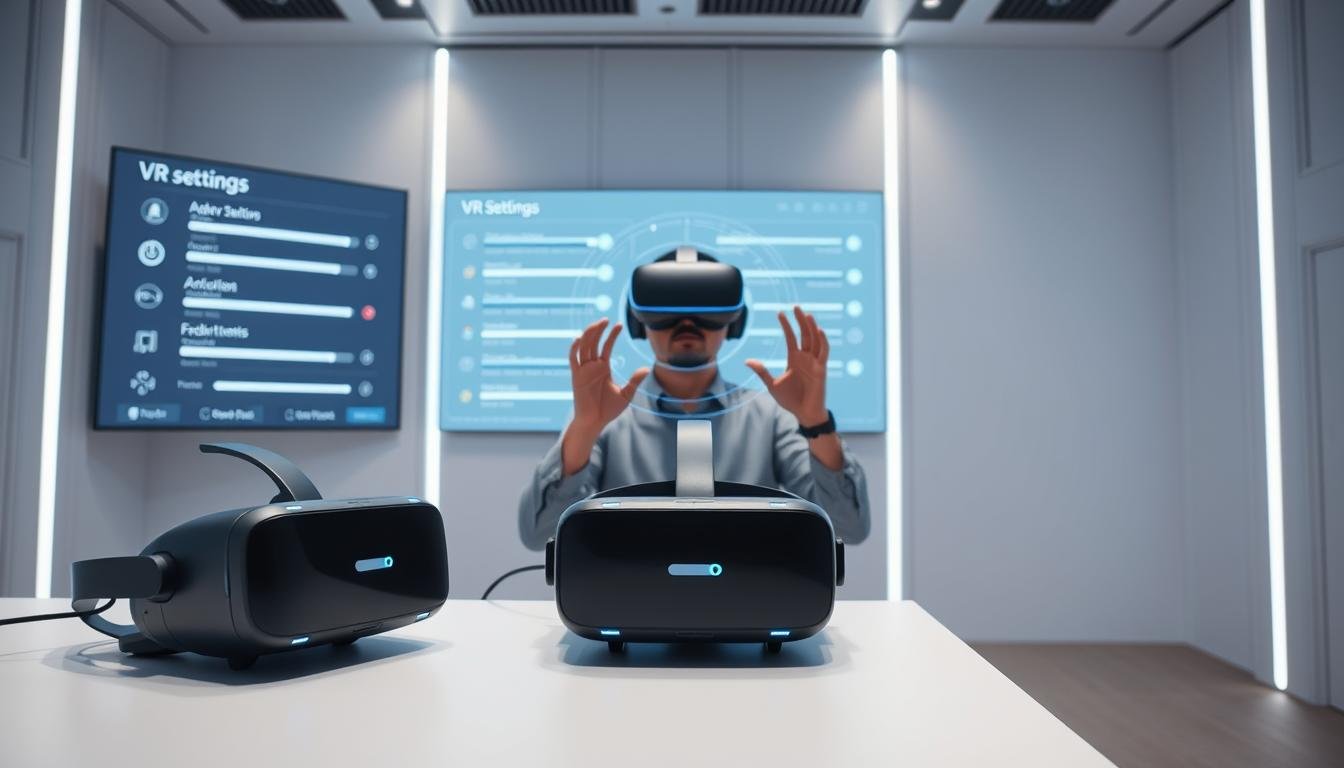
Customising VR Settings for Enhanced Immersion and Performance

Fine-tuning your system can transform your session into a smooth and visually rich adventure. By adjusting key parameters, you can achieve a more immersive and comfortable experience. Let’s explore specific tweaks that enhance both performance and visual clarity.
Tweaking In-Game Graphics and Field of View
Start by adjusting in-game graphics. Lowering unnecessary effects like shadows or reflections can free up resources. Increasing the field of view (FOV) creates a more immersive environment. However, balance is key—too wide an FOV may strain your system.
Optimising CPU and GPU Performance
Balancing CPU and GPU performance is crucial. Locking the frame rate ensures stability, while reducing motion smoothing minimises latency. Community insights, like those from StonyCrayfish44, highlight the benefits of these adjustments for smoother gameplay.
Implementing DLSS and Resolution Scaling Adjustments
Enabling DLSS enhances clarity while reducing GPU load. Resolution scaling adjusts the rendering resolution, maintaining smooth performance even in intensive scenes. These tweaks are particularly effective in applications like MSFS VR.
| Adjustment | Benefit | Example |
|---|---|---|
| Field of View | Enhances immersion | Increase to 110° |
| DLSS | Improves clarity | Enable Quality Mode |
| Resolution Scaling | Maintains performance | Set to 80% |
Regularly fine-tuning these settings ensures an optimal experience tailored to your hardware. By following these steps, you can enjoy a smoother and more immersive session.
VR Settings for the Best Experience

Achieving crystal-clear visuals in MSFS VR requires a delicate balance between performance and clarity. Advanced tweaks, shared by the community, can help you unlock the full potential of your setup. By focusing on key adjustments, you can enjoy smoother gameplay and sharper details.
Balancing Clarity with Performance in MSFS VR
Maintaining clarity in cockpit instruments while ensuring smooth performance is a common challenge. One effective method is locking the frame rate to 45FPS. This reduces strain on your system while maintaining a consistent experience.
Disabling non-essential features like ambient occlusion can also free up resources. This allows your GPU to focus on rendering critical details, such as instrument panels and terrain.
Community Tips and Advanced Tweaks
The VR community offers valuable insights for optimising your setup. For instance, undervolting your GPU can reduce heat and improve efficiency. Tweaking DLSS quality settings ensures sharper visuals without overloading your hardware.
Real-time monitoring tools like FPSVR are essential for maintaining optimal performance. These tools help you identify bottlenecks and make adjustments on the fly.
| Adjustment | Benefit | Example |
|---|---|---|
| Frame Rate Lock | Reduces system strain | Set to 45FPS |
| DLSS Quality | Enhances visual clarity | Enable Quality Mode |
| Undervolting GPU | Improves efficiency | Reduce voltage by 10% |
Success stories from users highlight the impact of these tweaks. Many have reported significant improvements in both clarity and performance. For more detailed guidance, explore community-tested configurations.
By combining these adjustments, you can achieve the ultimate setting for an immersive and smooth experience. Regular monitoring and fine-tuning ensure your page performance remains at its peak.
Conclusion
Customising your setup can significantly enhance performance and immersion. Start by assessing hardware and software requirements to ensure compatibility. Adjusting in-game graphics, balancing CPU and GPU performance, and implementing advanced tweaks like DLSS and resolution scaling are key steps.
Community insights highlight the importance of experimenting with these adjustments. Locking frame rates and fine-tuning quality settings can make a noticeable difference. Monitoring your system’s performance helps identify the best configuration for your needs.
With careful adjustments, every user can achieve an optimised page that delivers smooth and immersive results. Share your own setting experiences to contribute to ongoing improvements. For more tips, explore community-tested configurations.
FAQ
What hardware do I need for a smooth virtual reality experience?
To ensure smooth performance, you’ll need a compatible headset like the Meta Quest 3 or Valve Index, a powerful GPU such as the NVIDIA RTX 3080, and a CPU like the AMD Ryzen 7 5800X. Check your device’s specifications for compatibility.
How do I configure SteamVR for optimal performance?
Open SteamVR settings, navigate to the video tab, and adjust the resolution scaling. Lowering it can improve performance, while increasing it enhances clarity. Experiment with settings to find the right balance for your system.
What are the benefits of using DLSS in virtual reality?
DLSS (Deep Learning Super Sampling) boosts frame rates and improves visual quality by using AI to upscale lower-resolution images. This is particularly useful in demanding applications like Microsoft Flight Simulator VR.
How can I balance clarity and performance in MSFS VR?
Start by adjusting the in-game graphics settings. Lowering anti-aliasing and shadows can improve performance, while increasing texture quality enhances clarity. Use tools like OpenXR Toolkit for further fine-tuning.
Are there community-recommended tweaks for better immersion?
Yes, many users suggest using mods and third-party tools like OpenComposite to bypass SteamVR for improved performance. Additionally, forums like Reddit’s r/virtualreality often share advanced tips and tricks.
How do I optimise my CPU and GPU for virtual reality?
Ensure your drivers are up to date and close background applications to free up resources. Use monitoring tools like MSI Afterburner to check performance and adjust settings accordingly.
Source Links
- Tips I Wish I Had for Optimizing MSFS in VR (Quest 2/3 & RTX 4080)
- MSFS2024 Virtual Reality (VR) Setup & Settings
- Prepare for Onward 2.0 VR Gaming with Adjustable VR Lenses
- Exploring the Applications of Virtual Reality in Medical Training
- Reliability and validity of a self-developed virtual reality-based test battery for assessing motor skills in sports performance – Scientific Reports
- Manual: VR and MR development in Unity
- This Meta Quest 3 Game Optimizer Saved VR for Me
- Here’s What An RTX 5090 Does For Fallout & Flight Simulator In VR
- The Best Budget VR Headsets – IGN
- Meta Quest 3 vs. 3S: Which VR Headset Is Right for You?
- Parent’s guide to VR headsets and VR games for kids